The Plumber's Go-To Method for Instantly Stopping a Dripping Faucet at Home
Few sounds are as persistently annoying as the incessant drip, drip, drip of a leaky faucet. Beyond the sheer irritation, a dripping faucet can waste hundreds of gallons of water per year, leading to higher utility bills and potential water damage over time. While many homeowners might resign themselves to the drip or call a professional immediately, understanding the common causes and solutions can empower you to address the issue effectively, often with tools you already own.
Before you tackle the problem, it's essential to identify the type of faucet you have. Most residential faucets are either compression, cartridge, ceramic disc, or ball-type. Each has distinct internal mechanisms, but the underlying cause of a drip often traces back to worn-out washers, O-rings, or cartridges.
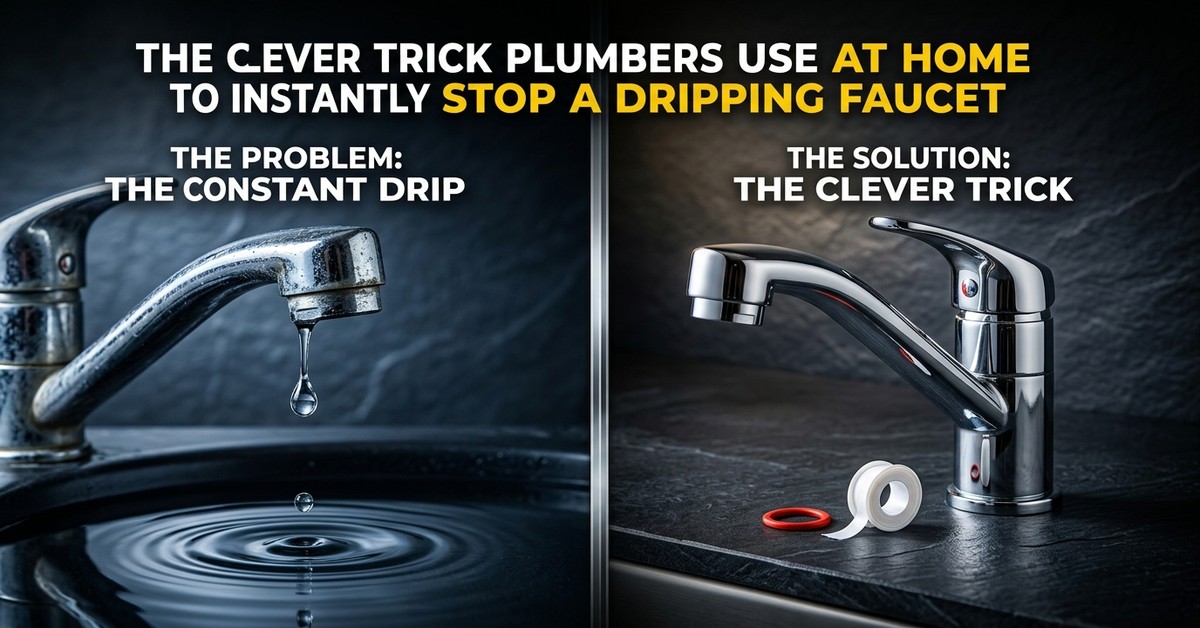
The "before" scenario is typically one of frustration: a constant, rhythmic sound, a stained sink basin, and the feeling of wasted resources. Many might try tightening the handle or ignoring it, hoping it will resolve itself – which it rarely does. The "after" scenario, however, is one of serene silence, a dry sink, and the satisfaction of a job well done, all achieved by understanding the techniques professionals employ.
Few sounds are as persistently annoying as the incessant drip, drip, drip of a leaky faucet.
The Clever Trick Plumbers Use At Home To Instantly Stop A Dripping Faucet

While there's no single "magic trick" that plumbers guard, their effectiveness comes from a systematic approach and an understanding of the faucet's components. The "clever trick" isn't about complexity; it's about precision and knowing where to look and what to replace. Here’s a breakdown of the typical process a professional might follow, a process you can replicate:
Step 1: Shut Off the Water Supply
This is crucial. Locate the shut-off valves under the sink (hot and cold) and turn them clockwise until the water flow stops completely. If your sink doesn't have individual valves, you'll need to turn off the main water supply to your home. According to WikiHow, always double-check the water is off by turning the faucet on before proceeding.
Step 2: Disassemble the Faucet Handle
Depending on your faucet type, this might involve prying off a decorative cap, unscrewing a set screw (often with an Allen wrench), or simply unscrewing the handle itself. Keep all parts organized – a good tip from experienced plumbers is to lay them out in the order you remove them.
Step 3: Access the Stem or Cartridge
Once the handle is off, you’ll expose the faucet stem or cartridge. For compression faucets, you’ll see packing nuts that hold the stem in place. For cartridge or ceramic disc faucets, the cartridge assembly will be visible. This is where the worn-out components usually reside.
Step 4: Inspect and Replace Worn Components
This is the core of the "trick." Carefully remove the stem or cartridge. Look for signs of wear on rubber washers, O-rings, or the cartridge itself. These components degrade over time due to mineral deposits and constant pressure. Plumbers always have a selection of replacement parts on hand. For homeowners, taking the old part to a hardware store ensures you get an exact match. Home improvement experts often advise against trying to reuse old, hardened washers.
Step 5: Reassemble the Faucet
Once new parts are in, carefully reassemble the faucet in reverse order. Ensure all screws are snug but do not overtighten, which can damage new washers. Restore the water supply gradually, checking for any new leaks. If the drip persists, it might indicate a more complex issue, such as internal valve damage or a need to replace the entire faucet, but often, these simple steps resolve the problem.
By following these expert-backed steps, you can transform your constantly dripping faucet into a silent, efficient fixture, saving water and restoring peace to your home.