How Plumbers Instantly Stop Dripping Faucets At Home
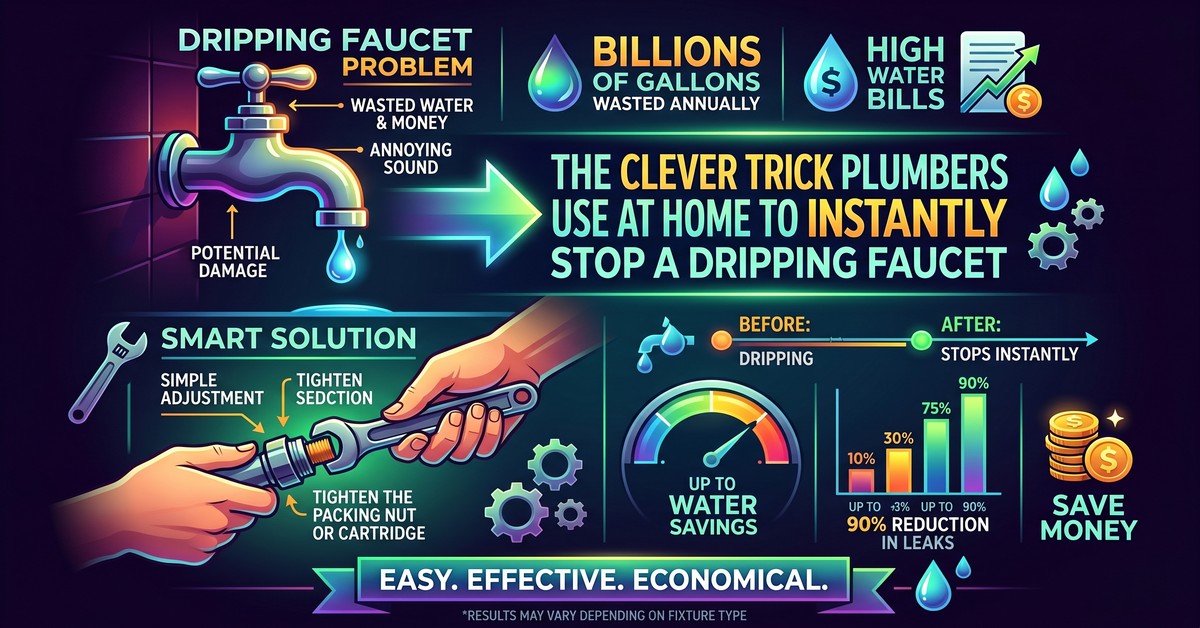
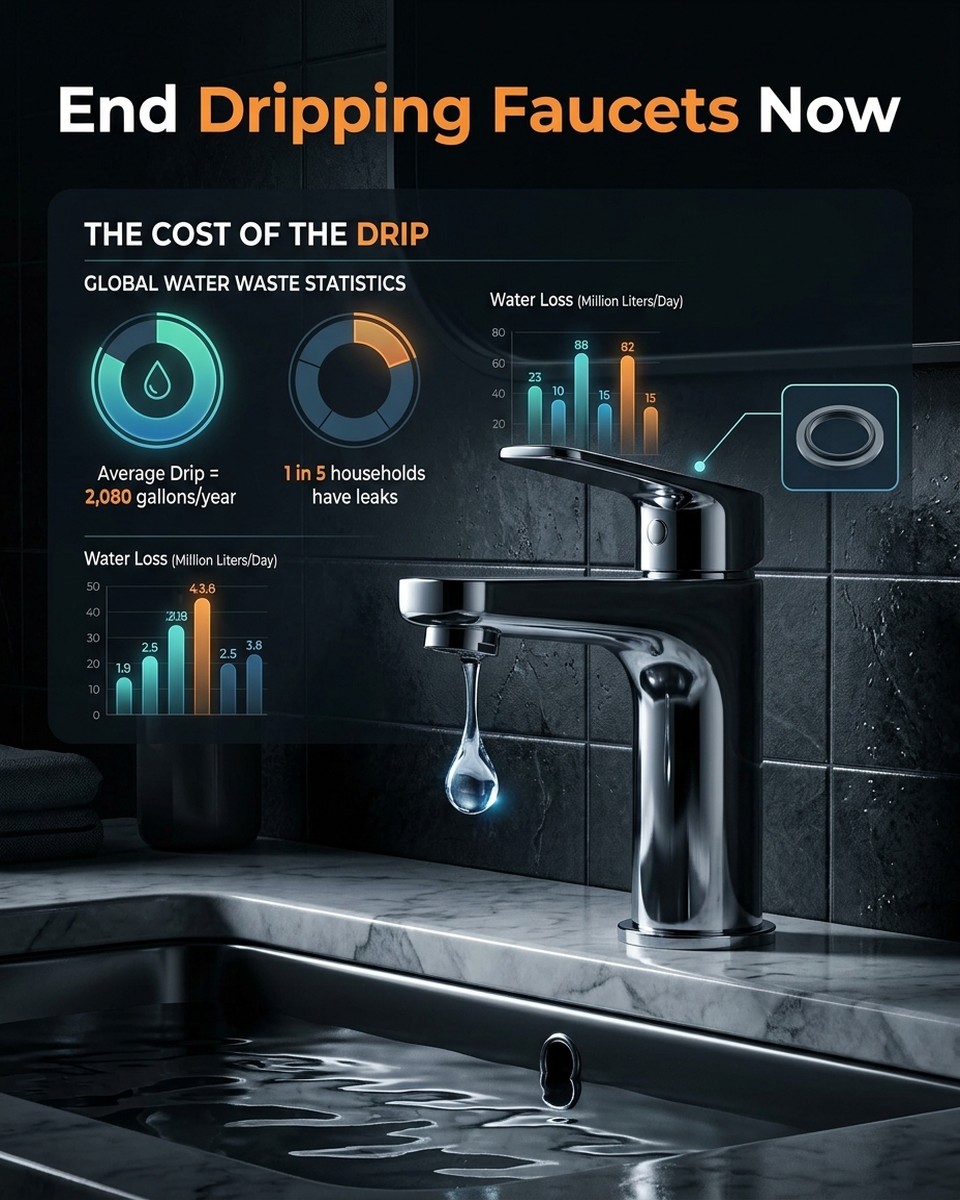
A dripping faucet isn't just an annoyance; it can lead to significant water waste and increased utility bills over time. In fact, even a slow drip can waste hundreds of gallons of water per year. While the sound might drive you crazy, the good news is that many common faucet drips can be fixed with a few simple steps, often without needing to call a professional. This guide will walk you through The Clever Trick Plumbers Use At Home To Instantly Stop A Dripping Faucet, empowering you to tackle this common household issue yourself.
A dripping faucet isn't just an annoyance; it can lead to significant water waste and increased utility bills over time.
Understanding the Source of the Drip
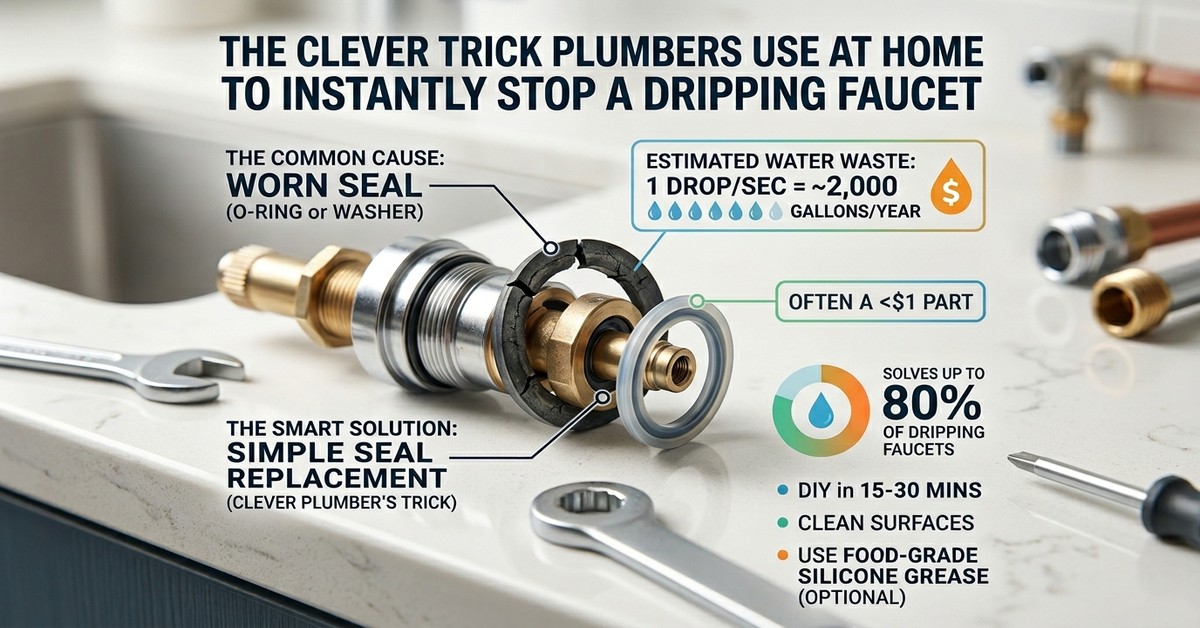
Before you can fix a drip, it’s essential to understand why it’s happening. Most faucet drips are caused by worn-out components or mineral buildup. Over time, the constant flow of water and everyday use can degrade washers, O-rings, and other seals within your faucet. Mineral deposits from hard water can also interfere with these components, preventing a tight seal.
The Plumber's Go-To Method: A Step-by-Step Fix
Professional plumbers often follow a systematic approach to identify and resolve faucet drips. This method focuses on the most common culprits and can save you time and frustration. According to HomeAdvisor, fixing a dripping faucet is one of the most common DIY plumbing repairs attempted by homeowners, and for good reason—it's often straightforward.
- Step 1: Turn Off the Water Supply. This is crucial. Locate the shut-off valves under your sink and turn them clockwise until the water flow stops completely. If your sink doesn't have local shut-off valves, you'll need to turn off the main water supply to your house.
- Step 2: Disassemble the Faucet Handle. Most faucet handles are held in place by screws, often concealed under decorative caps. Carefully remove these caps and unscrew the handle. Keep all parts organized – a small container or a towel laid out can help.
- Step 3: Inspect and Replace Worn Components. Once the handle is off, you'll typically find a cartridge, stem, or ball assembly, depending on your faucet type (compression, cartridge, ceramic disc, or ball faucet). The key here is to look for rubber washers, O-rings, or seals that appear worn, cracked, or hardened. These are often the source of the drip. Carefully remove the old parts. It's a good practice to replace all accessible washers and O-rings, even if they don't look completely deteriorated, as they are inexpensive and prone to wear. WikiHow also emphasizes the importance of using the correct replacement parts for your specific faucet model.
- Step 4: Clean Components and Remove Mineral Buildup. While the faucet is disassembled, take the opportunity to clean any visible mineral deposits on the internal components. A old toothbrush and a solution of equal parts white vinegar and water can work wonders. Ensure all parts are free of grit and grime before reassembly.
- Step 5: Reassemble and Test. Put the faucet back together in reverse order, ensuring all screws are tightened snugly but not overly so, as this can damage components. Once reassembled, slowly turn the water supply back on and check for drips. If the drip persists, you might need to re-examine the components or consider if the entire cartridge needs replacing.
Preventative Measures for a Drip-Free Future
To keep your faucets in top condition, consider these tips:
- Avoid Overtightening: Don't force faucet handles. Excessive force can prematurely wear out washers and seals.
- Regular Cleaning: Periodically clean faucet aerators and spouts to prevent mineral buildup that can restrict flow and stress internal parts.
- Use Quality Parts: When replacing components, opt for high-quality parts that match your faucet's specifications.
By following The Clever Trick Plumbers Use At Home, you can effectively address most dripping faucet issues, saving water, money, and your sanity. A quiet, leak-free home is within your reach.