How Plumbers Instantly Stop Dripping Faucets At Home
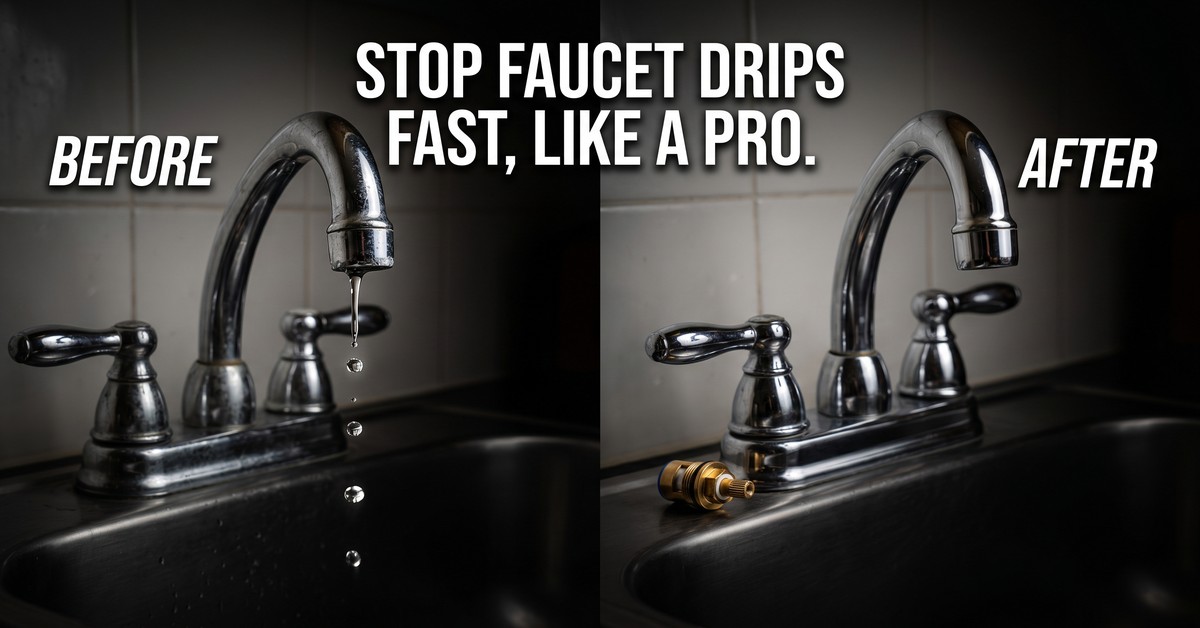
A dripping faucet is more than just an irritating sound; it's a constant waste of water and money. While many homeowners might postpone dealing with this common plumbing issue, professionals understand that a small drip can quickly become a bigger problem if left unaddressed. The good news is that stopping a dripping faucet often doesn't require complex tools or extensive plumbing knowledge. It primarily involves understanding the common culprits and applying a systematic approach.
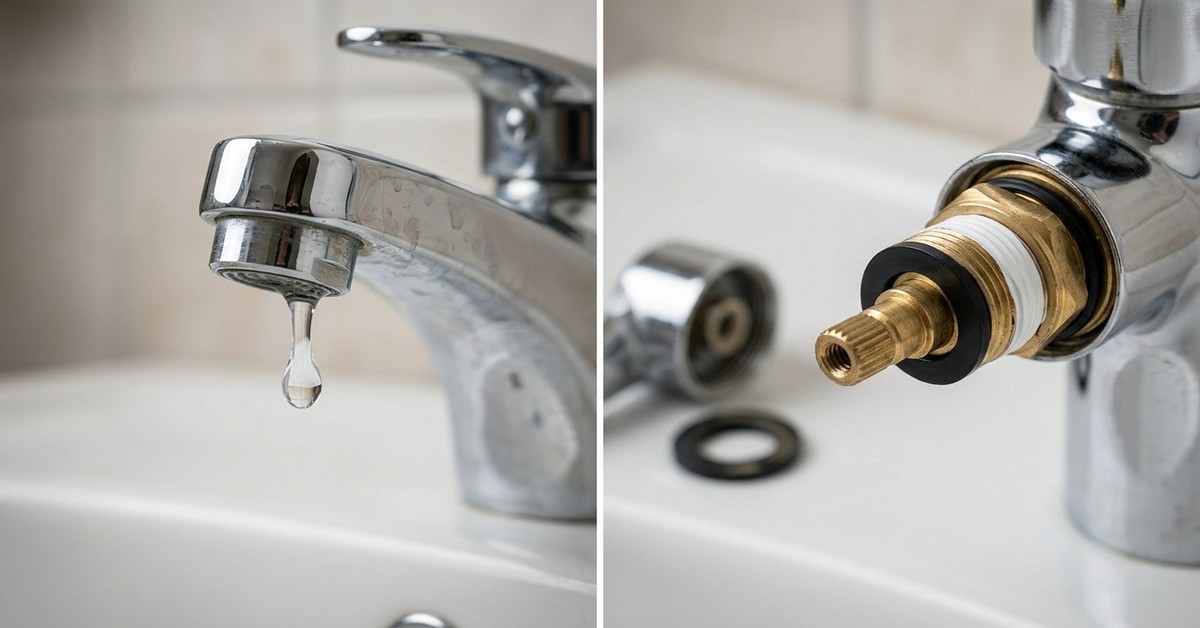
According to experts at WikiHow, the vast majority of faucet leaks stem from worn-out components, most commonly rubber washers, O-rings, or seals within the faucet assembly. Over time, these parts degrade due to constant use, mineral deposits in the water, and normal wear and tear. When these components lose their elasticity or become damaged, they can no longer create a watertight seal, leading to that incessant drip.
A dripping faucet is more than just an irritating sound; it's a constant waste of water and money.
The Plumber's Go-To Method for Instant Faucet Repair
What’s the "clever trick" plumbers use in their own homes to instantly stop a dripping faucet? It’s less of a trick and more of a precise, step-by-step method focused on diagnosis and component replacement. Here’s a general overview of the process they often follow:
- Step 1: Shut Off the Water Supply. This is crucial. Locate the shut-off valves under the sink and turn them clockwise until the water stops. If your sink doesn’t have individual shut-off valves, you’ll need to turn off the main water supply to your house.
- Step 2: Gather Your Tools. You’ll typically need a screwdriver (flathead and Phillips), an adjustable wrench, needle-nose pliers, and replacement washers, O-rings, or a cartridge kit specific to your faucet type. Having a small cup or cloth to catch any residual water is also helpful.
- Step 3: Disassemble the Faucet. Carefully remove the decorative cap (if present), the handle screws, and the handle itself. Depending on your faucet model (compression, cartridge, ball, or ceramic disc), you'll then need to access the internal components. This might involve unscrewing packing nuts or removing clips.
- Step 4: Identify the Worn Part. Once you've exposed the internal mechanism, carefully inspect the washers, O-rings, or the entire cartridge. Look for signs of wear, cracking, or deterioration. Often, the culprit is visually obvious.
- Step 5: Replace and Clean. Replace the worn component with a new, identical part. While the faucet is disassembled, it's also a good opportunity to clean any mineral buildup or debris from the internal parts and the faucet body itself. A little plumber's grease can be applied to O-rings to ensure a smooth, lasting seal, as recommended by DIY plumbing guides from sources like Good Housekeeping.
- Step 6: Reassemble and Test. Put the faucet back together in reverse order. Be careful not to overtighten screws or nuts, which can damage new components. Once reassembled, slowly turn the water supply back on and check for drips. If done correctly, the drip should be instantly gone.
This systematic approach, favored by professionals, ensures that the root cause of the drip is addressed effectively, leading to a lasting repair. While the specific components may vary between faucet types, the underlying principle of replacing faulty seals remains consistent.