A Plumber's Method for Instantly Stopping a Dripping Faucet at Home
A dripping faucet can be more than just an annoyance; it's a silent drain on your water bill and a potential source of water damage over time. While many homeowners might resign themselves to the constant drip or immediately call a professional, there's a specific, clever method plumbers often employ to instantly stop a dripping faucet at home, one that many DIY enthusiasts can master with a few simple tools.
Before diving into the solution, it’s important to understand why faucets drip. The most common culprit is a worn-out washer or O-ring inside the faucet handle or valve. Over time, these rubber components degrade, harden, or crack, creating tiny gaps that allow water to seep through, even when the faucet is turned off. Sediment buildup can also interfere with a proper seal.
A dripping faucet can be more than just an annoyance; it's a silent drain on your water bill and a potential source of water damage over time.
The Plumber's Go-To Drip Solution
The "clever method" isn't magic, but rather a systematic approach to identifying and replacing the faulty component. According to Good Housekeeping, addressing a dripping faucet promptly can save thousands of gallons of water annually. Plumbers typically follow these steps, and you can too:
- Turn Off the Water Supply: This is the crucial first step. Locate the shut-off valves under your sink or the main water supply to your home. Turn them clockwise until the water flow is completely stopped. Turn on the faucet to drain any remaining water from the lines.
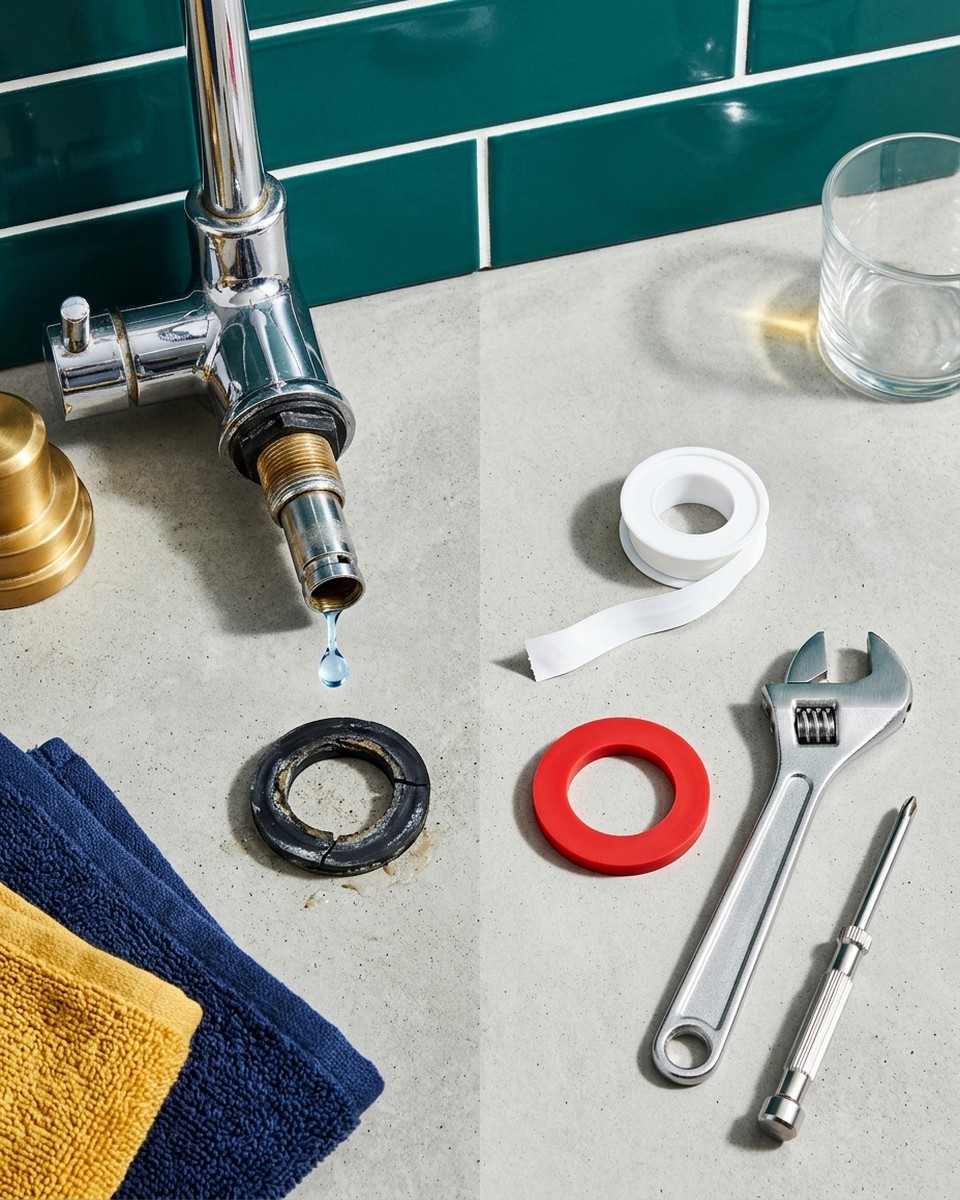
- Gather Your Tools: You'll likely need a screwdriver (Phillips and flathead), an adjustable wrench, needle-nose pliers, and a set of replacement washers, O-rings, or a new cartridge specific to your faucet type. Knowing your faucet's brand and model can help immensely here.
- Disassemble the Faucet Handle: Most faucet handles are held in place by a screw, often hidden under a decorative cap. Carefully pry off the cap, unscrew the handle, and remove it.
- Access the Valve Stem or Cartridge: Once the handle is off, you'll see the packing nut or retaining clip holding the valve stem or cartridge in place. Use your adjustable wrench to carefully loosen and remove the packing nut. For cartridge faucets, you might need pliers to pull the cartridge straight up and out.
- Inspect and Replace Worn Parts: Examine the washers, O-rings, or the entire cartridge for signs of wear, cracks, or hardening. These are usually the direct cause of the drip. Replace any damaged components with new ones. If you have a cartridge faucet, replacing the entire cartridge is often the most effective solution.
- Clean Sediment (Optional but Recommended): While the faucet is disassembled, gently clean any mineral deposits or sediment buildup from the internal components using a small brush and vinegar.
- Reassemble the Faucet: Carefully put everything back together in reverse order. Ensure all nuts and screws are tightened securely but do not overtighten, as this can damage new washers.
- Restore Water Supply and Test: Slowly turn the water supply back on and check for drips. If done correctly, your faucet should now be silent and drip-free!
This systematic method, often referred to by experts like those at WikiHow as a standard home maintenance task, empowers homeowners to tackle minor plumbing issues without professional help. By understanding the common causes and following these expert-approved steps, you can save money, conserve water, and enjoy the peace of a silent home.