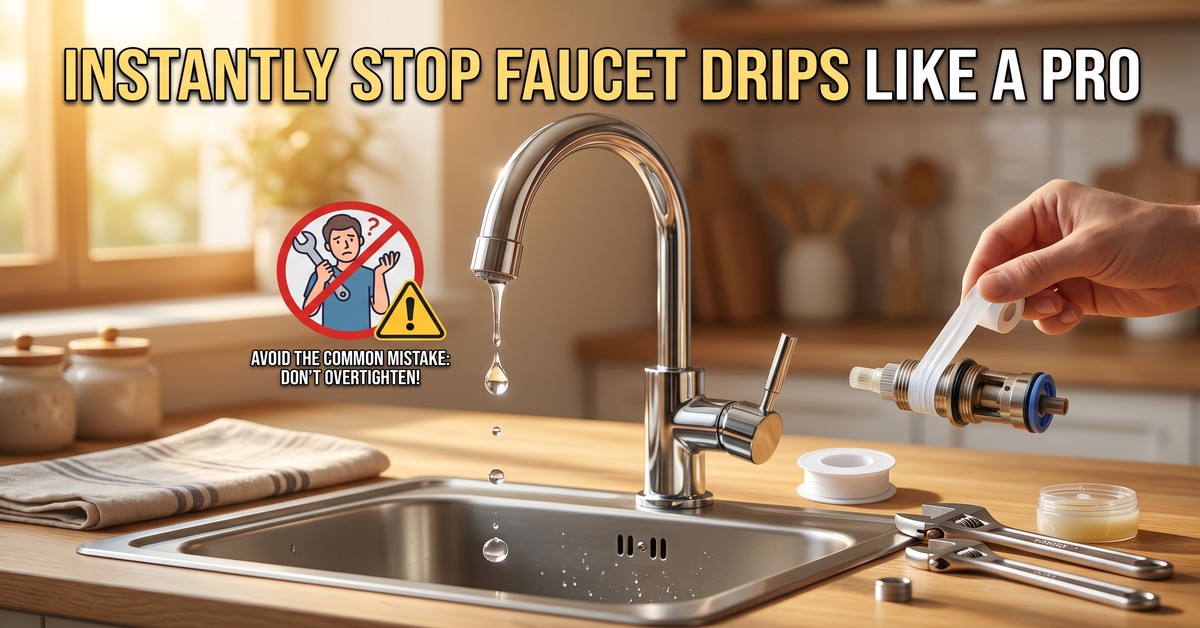
How Plumbers Instantly Stop Dripping Faucets at Home: An Expert Guide
A dripping faucet is more than just an annoyance; it’s a constant drain on your wallet and a significant waste of water. Many homeowners attempt DIY fixes, often leading to frustration and temporary solutions. The good news is that stopping a leaky faucet doesn't always require an expensive professional call-out. There's a clever trick plumbers themselves use at home to instantly stop a dripping faucet, and it often boils down to understanding the root cause and applying a precise fix, rather than just tightening harder.
The common mistake many make is assuming all faucet drips are the same or can be fixed with brute force. Often, the issue isn't loose pipes but rather worn internal components that need proper identification and replacement. Plumbers, with their deep understanding of faucet mechanics, approach these issues systematically. They know that different faucet types—compression, cartridge, ball, and ceramic disc—have distinct internal workings and require specific repair methods.
A dripping faucet is more than just an annoyance; it’s a constant drain on your wallet and a significant waste of water.
The Plumber's Approach: Diagnosis is Key
Instead of guessing, a professional plumber first diagnoses the type of faucet and the likely culprit. According to sources like WikiHow, accurately identifying your faucet model is the first critical step in any successful repair. This prevents you from disassembling parts unnecessarily or attempting a fix that won't apply to your specific fixture.
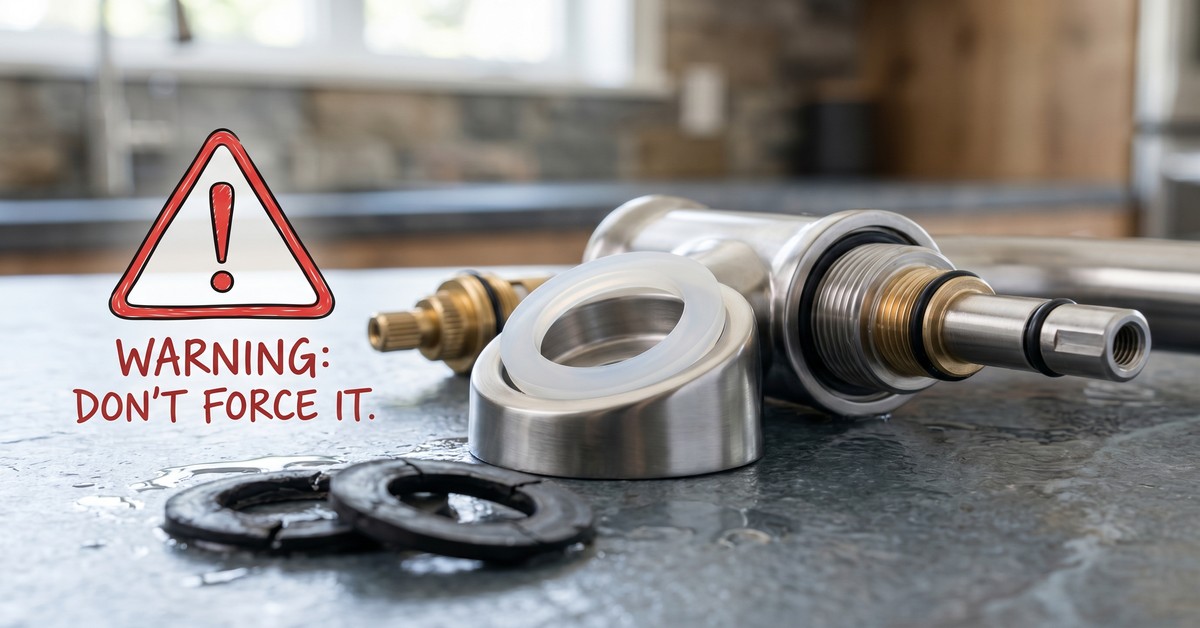
- Compression Faucets: These older styles often drip due to worn rubber washers in the handle assembly. The clever trick here is to replace not just the main washer, but also the O-ring around the stem.
- Cartridge Faucets: A more modern design, these usually require replacing the entire cartridge if they leak. The "trick" is ensuring you get the exact replacement cartridge for your faucet brand and model, as a near-match won't suffice.
- Ball Faucets: Found in many kitchen sinks, these single-lever faucets can be tricky. Leaks often come from worn springs, O-rings, or seals within the ball assembly. The plumber's method involves carefully replacing all these small components as a kit.
- Ceramic Disc Faucets: These durable faucets rarely leak, but when they do, it's typically due to a cracked ceramic disc or sediment buildup. The expert approach involves meticulously cleaning or replacing the disc, ensuring no grit remains.
The Clever Trick: A Systematic, Component-Level Fix
The core of The Clever Trick Plumbers Use At Home To Instantly Stop A Dripping Faucet isn't some secret tool, but rather a methodical process. It involves:
- Shutting Off Water Properly: Always turn off the water supply to the faucet at the shut-off valves beneath the sink, or at the main water supply if no local valves exist. Drain any residual water by opening the faucet.
- Careful Disassembly: Remove the decorative cap, handle screw, and then the handle itself. Depending on your faucet type, you'll then access the packing nut, bonnet nut, or cap that holds the internal components.
- Thorough Inspection and Component Replacement: This is where the expert touch comes in. Instead of just replacing one obvious worn part, plumbers inspect all related components—washers, O-rings, springs, and seals—for signs of wear, corrosion, or damage. As advised by home repair experts at "This Old House," it's often best to replace all rubber components in an assembly when you have it open, as they tend to wear out simultaneously.
- Cleaning and Lubrication: Before reassembly, plumbers clean any sediment or mineral deposits from the faucet body and components. They might also apply plumber's grease to O-rings and and threads to ensure a smooth, watertight seal and easier future maintenance.
- Precise Reassembly: Putting everything back together correctly is just as important as disassembly. Ensure all screws are snug (but not overtightened, which can damage parts), and components are seated properly.
By adopting this systematic, component-level approach, you're not just patching a leak; you're addressing the root cause, just like a professional. This method ensures that once the drip is stopped, it stays stopped, saving you water, money, and future headaches.